Hi there :) I've got some more cards to share today. After I made my card yesterday I uploaded it to the
Unity Stamp Facebook group and I had some lovely comments. I also had someone ask 'how' I'd done the background so I thought I'd make some more cards and take all the necessary photos so here you go!
Today's cards are slightly different than the one I made yesterday... and I made the background using Distress Ink instead of Peerless watercolours but the process was largely the same.
I started off by die cutting four pieces of Distress watercolour paper using my Lawn Fawn stitched rectangle dies. Once they were all ready, I took each one in turn and used Micropore tape to hold it flat on an old mini clipboard
(I bought the Micropore tape at a local chemist for $2).
After trialing lots of different tapes I've found that the Micropore tape is the best for temporarily holding my watercolour paper onto the board... and it NEVER tears my paper!
Then I use a wide paint brush and applied clean water to the Distress watercolour paper... this helps the inks move around much more than if you apply them direct to dry paper.
Next comes the fun stuff... COLOUR! I wanted to start with a blue background so I chose three Distress Inks:
Blueprint Sketch, Salty Ocean and Peacock Feathers. I just dabbed some of each colour onto a plastic place mat that I keep on my art table.
Then I used a soft, wet brush to pick up some of the colour and added it to my Distress watercolour paper. I did some of each colour and let the colours flow into each other and react with the water.
Next I dried my paper with the heat gun... it's super fun to watch the colours change and mix as they dry.
I really love how you get darks, lights, and patterns over the background. I wasn't finished yet though because I went back in with some more of each colour to create a bit more depth. I also decided to add some splatter effects by just adding lots of water and a bit of colour to my paintbrush and then tapping it over my background. It looked awesome when it dried!
When I was totally happy with my background I peeled off the Micropore tape and my background was ready.
Here's my blue background using
Blueprint Sketch, Salty Ocean and Peacock Feathers Distress Inks:
I decided to make each card 'the same but different' so here's my orange background using
Wild Honey, Carved Pumpkin and Rusty Hinge Distress Ink:
The pink background using
Shaded Lilac, Picked Raspberry and Abandoned Coral Distress Ink:
And finally the green background using
Cracked Pistachio, Mowed Lawn and Lucky Clover Distress Ink:
I love colour, so seeing my backgrounds all come together was pretty fun for me! You can get very similar effects using Peerless watercolours, paints and lots of other mediums... the key thing I've found is that you MUST wet your paper BEFORE you start adding your colour so that it can move and blend right from the start. Here's my completed backgrounds:
My next step was to start stamping... and I'm SOOOO pleased that I have a MISTI stamping tool because I had to stamp my 'Live Love Laugh girl' five times on each card to get the area perfect... I think it might have been because I was using watercolour paper and I wanted a really solid black for the image. In the end I found my Tsukineko
Archival Brilliance ink (Graphite Black) gave me the very best results... and my Simple Green stamp cleaning solution cleaned the stamp up perfectly when I was done!
I stamped the same girl on all four cards and then heat embossed her with clear embossing powder. She looks quite funky against the coloured backgrounds too!
I wanted the finished cards to be a set but also be user friendly for a variety of different situations so I grabbed my Simon Says Stamp 'Be' set and got to work. I stamped all the sentiments using Hero Arts
Hero Hues Black ink... this ink is quickly becoming a favourite with me!
I used my MISTI stamping tool so I knew my stamp was going to be perfectly placed for all the cards... takes all the worry away that's for sure!
Next I stamped 'amazing' so that it read "be amazing"
And then I had another idea... or maybe that should be an 'expanded' idea because I came up with this:
Now the cards can be used for any occasion... and with a variety of colours to choose from it's even better!
Since these cards are designed to be a set I decided to back them with Bazzill's
Beetle Black cardstock. In spite of the name I actually find it to be a really soft black... more of a charcoal... which is exactly what I wanted for these cards.
Then I layered them onto some white cards from my stash:
I probably could have called them finished at this point... but I wanted to add a little bling in the form of sequins! These are Simon Says Stamp
Moonshine sequins which come in a pack of 3mm, 6mm and 10mm sequins all in one pack.
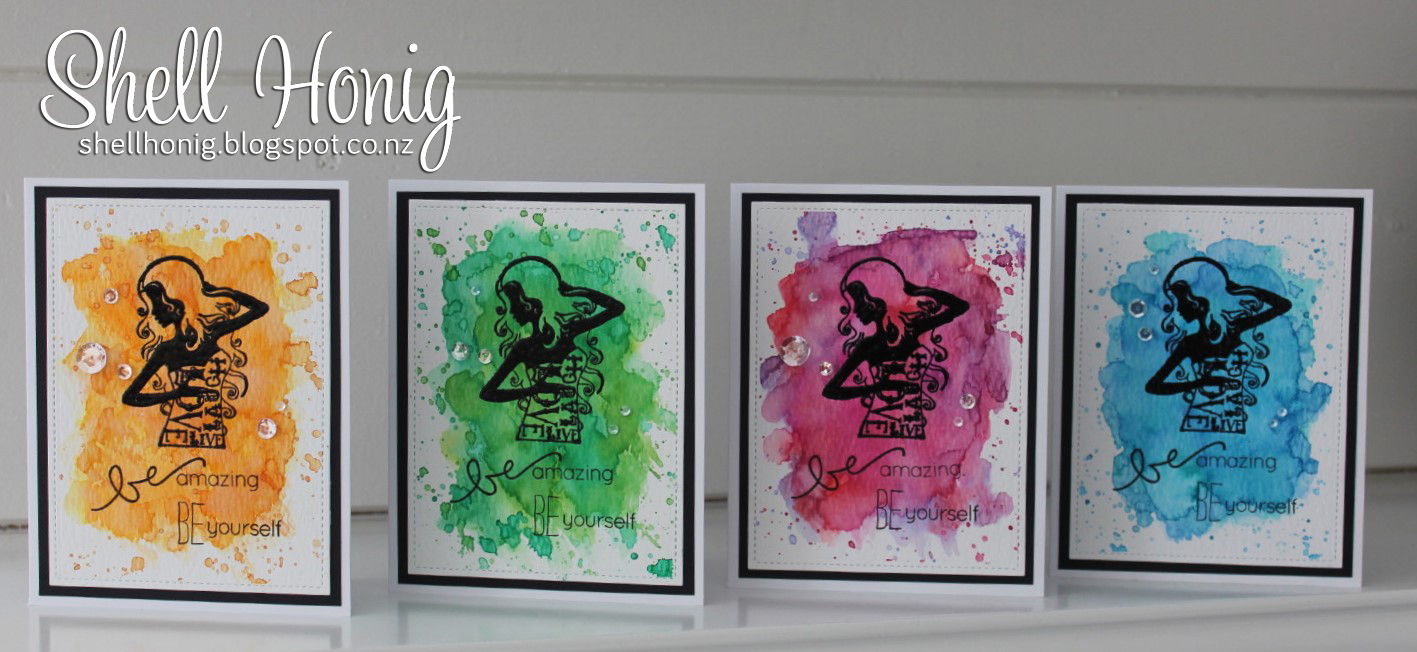
Here are my finished cards:
And here they are all together... loving the colours!
Thanks so much for visiting my blog today xx